This section covers how to set up the AI Chatbot, how to enable it, and how to add details for Chatbot
Setup accounts have never been so easy! Follow the steps given below to get started with setting your team up for action.
Step 1:-
After activating the plugin in your WordPress dashboard, you can now see the “AI Chatbot” on the left side of your menu. When you click on AI Chatbot, you will see Dashboard.
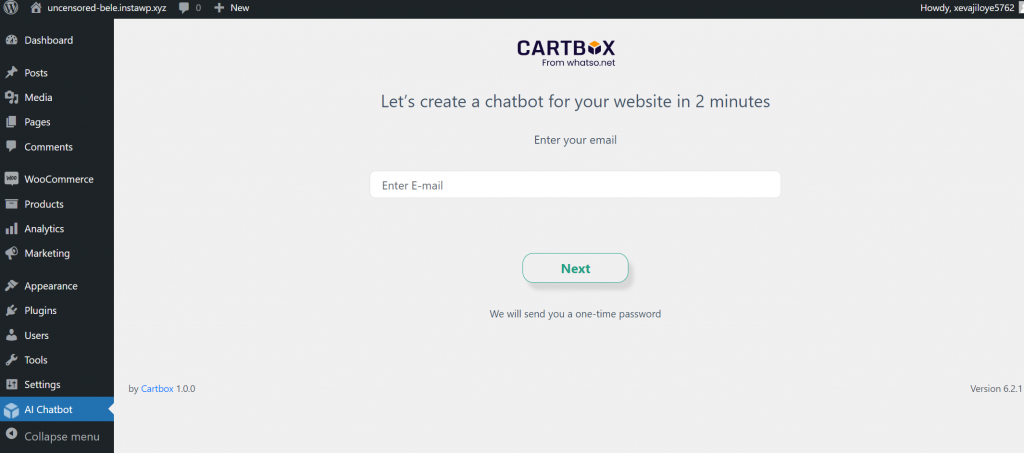
Step 2:-
Now, “Enter your email id” and click on the Next button. You will receive one mail from Cartbox, in which OTP will be sent.
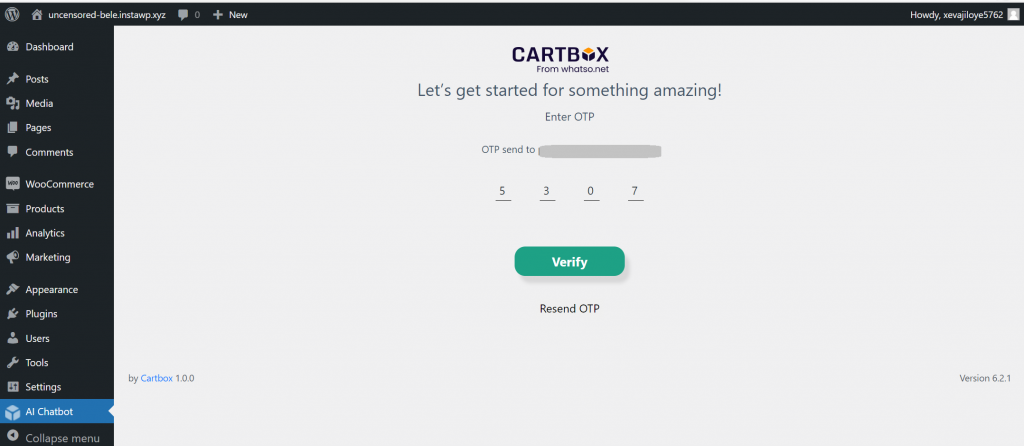
Step 3:-
Enter the OTP on this screen and click on “Verify”. If you don’t receive OTP, you can click on “Resend OTP” to OTP again.
Step 4:-
After verifying your email id, on this screen, your site URL will be shown. Click on “Submit” to continue.

Step 5:-
Now you will see the “Website Links” tab. There you can see a list of Website Links’ statuses.
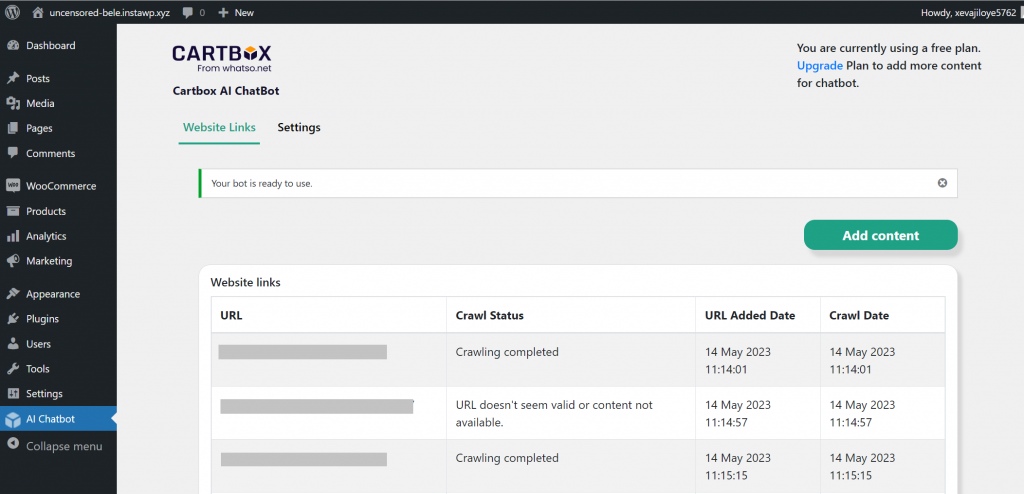
Step 6:-
You can crawl more data by clicking on the “Add Content” button. There you can see a list of Pages, Posts, and Products. Select items to build AI Chatbot. And click on submit button.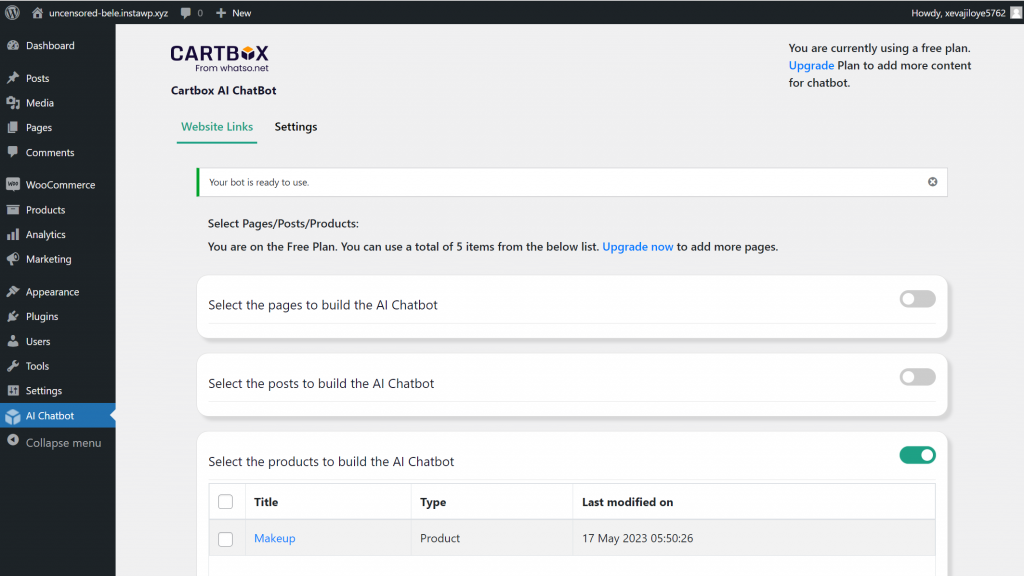
Step 7:-
After some time your bot will be ready. You can see below the message when the bot will be ready. Now go to the “Settings” tab and check “Show bot on website“ and then submit.
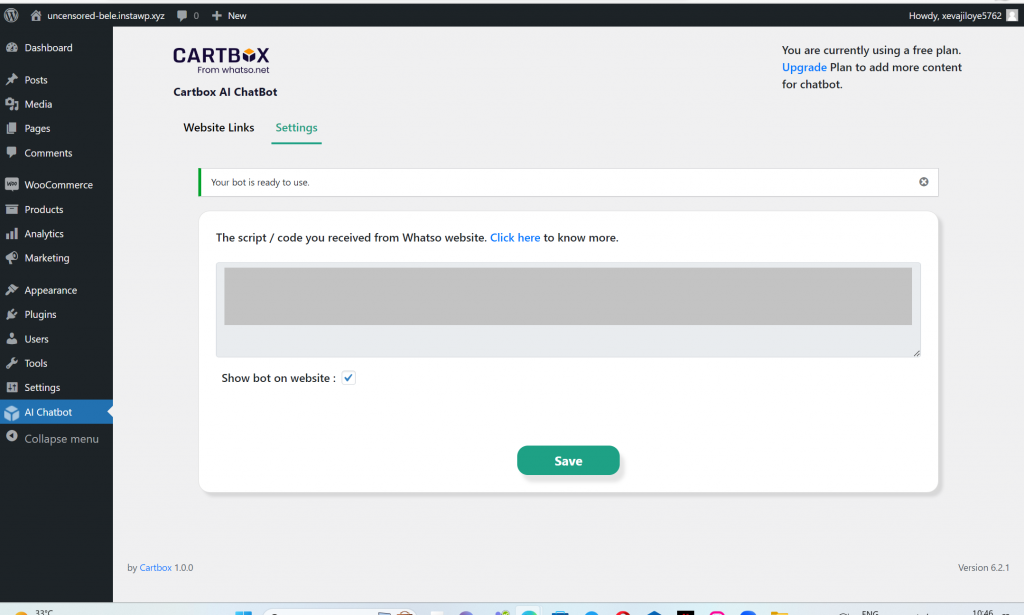
Your AI Chatbot is now ready and live on your site. For further customization, you can visit https://app.whatso.net/.